How to use videos with transparency in Filmora

Transparency in video editing gives you a lot of flexibility and freedom. When you can place one object over another, you can do much more and get closer to your creative vision.
If you're using Wondershare's Filmora app for editing, you may think you cannot import videos with alpha transparency. The good news is, you can. It's just not obvious.
TLDR; convert your video with transparency to the WebM VP9 format and make sure you preserve the alpha channel. Not sure how to do that? Read on.
So you have your clip. The next step is getting it into Filmora while preserving the background. How do we do that?
First, which format - or rather, codec - is your clip with transparency saved in?
How to check the format of a video file
Video files are tricky. You can't just look at the file extension to determine which format it really is encoded with. Rather, the file name just tells you which container format it was saved with. And as you know, containers can hold different things. In our case, different codecs. So we have to negotiate a bit with Finder to discover the codec of a video file.
If you're saving a video with transparency from Rotato, it's either a HEVC with Alpha or, if you choose, a ProRes4444, and the rest of the tutorial will work great for you.
To check which codec format a video is saved with, you can do this
1. In Finder, right click and choose Get Info
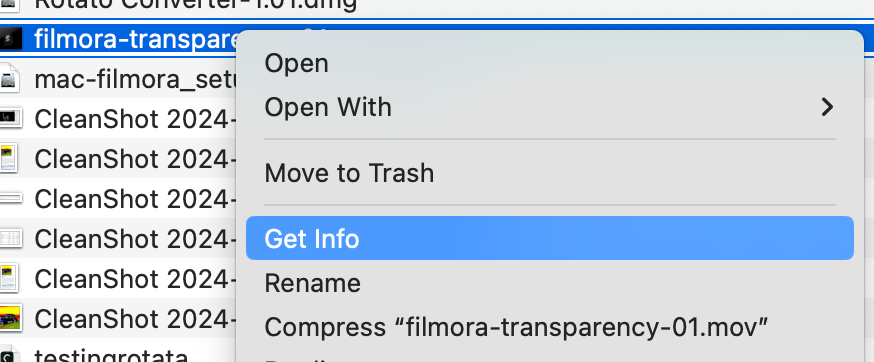
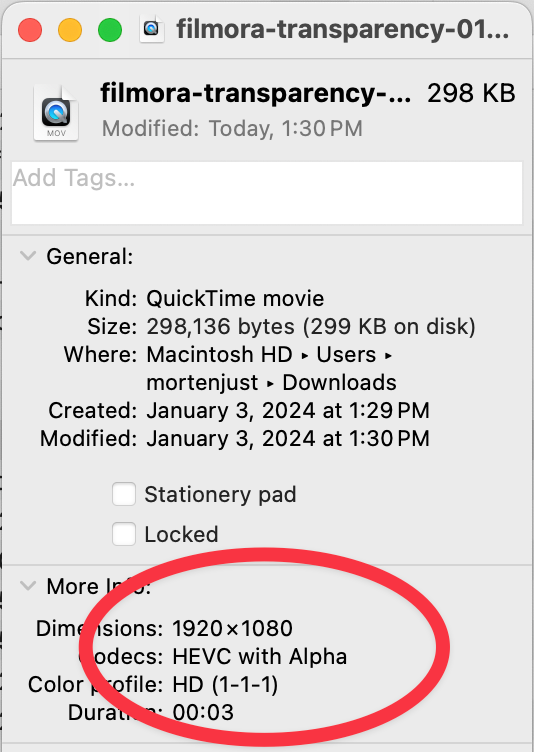
2. See the format in More Info
The Get Info palette reveals all kinds of information about a file, and for a video, it handily shows which codec a video was encoded in.
Which formats support alpha transparency?
Video alpha transparency is one of those features that keep falling through the cracks, and to this date, it's quite hard to know when to use which format. Here's a quick overview of the situation. You can see more on our alpha transparency guide page.
- HEVC With Alpha (.mov/.mp4). You may know MP4, also known as H264. HEVC is also called H265, so, yes, you guessed it, it's the latest version of the MPEG format. MacOS natively supports this format, pretty close to all apps on the platform that can read and write it...Well, except Wondershare. I don't know why exactly, but my guess is that Wondershare isn't really a macOS app under the hood but something that can run on other platforms, too.
- ProRes4444 with alpha (.mov). This is something called an intermediate format. That just means it's made for ferrying clips from one video editor to another. That's also why it's not compressed. And that, of course, is why ProRes4444 files are super big. This is an Apple format, so you may find that it's hard to find readers and writers of this format on other platforms.
- WebM VP9 with alpha (.webm). Google thought it would be cool to make a format that, unlike the MPEG family, is totally free and open source. That sounds like a great idea, if only it could win the hearts of all the operating systems, browsers, and apps out there. It hasn't fully yet. Ironically, it is in Filmora. And that's the key for us in this guide.
Which format works with Filmora, then?
Filmora supports a wide range of video formats.
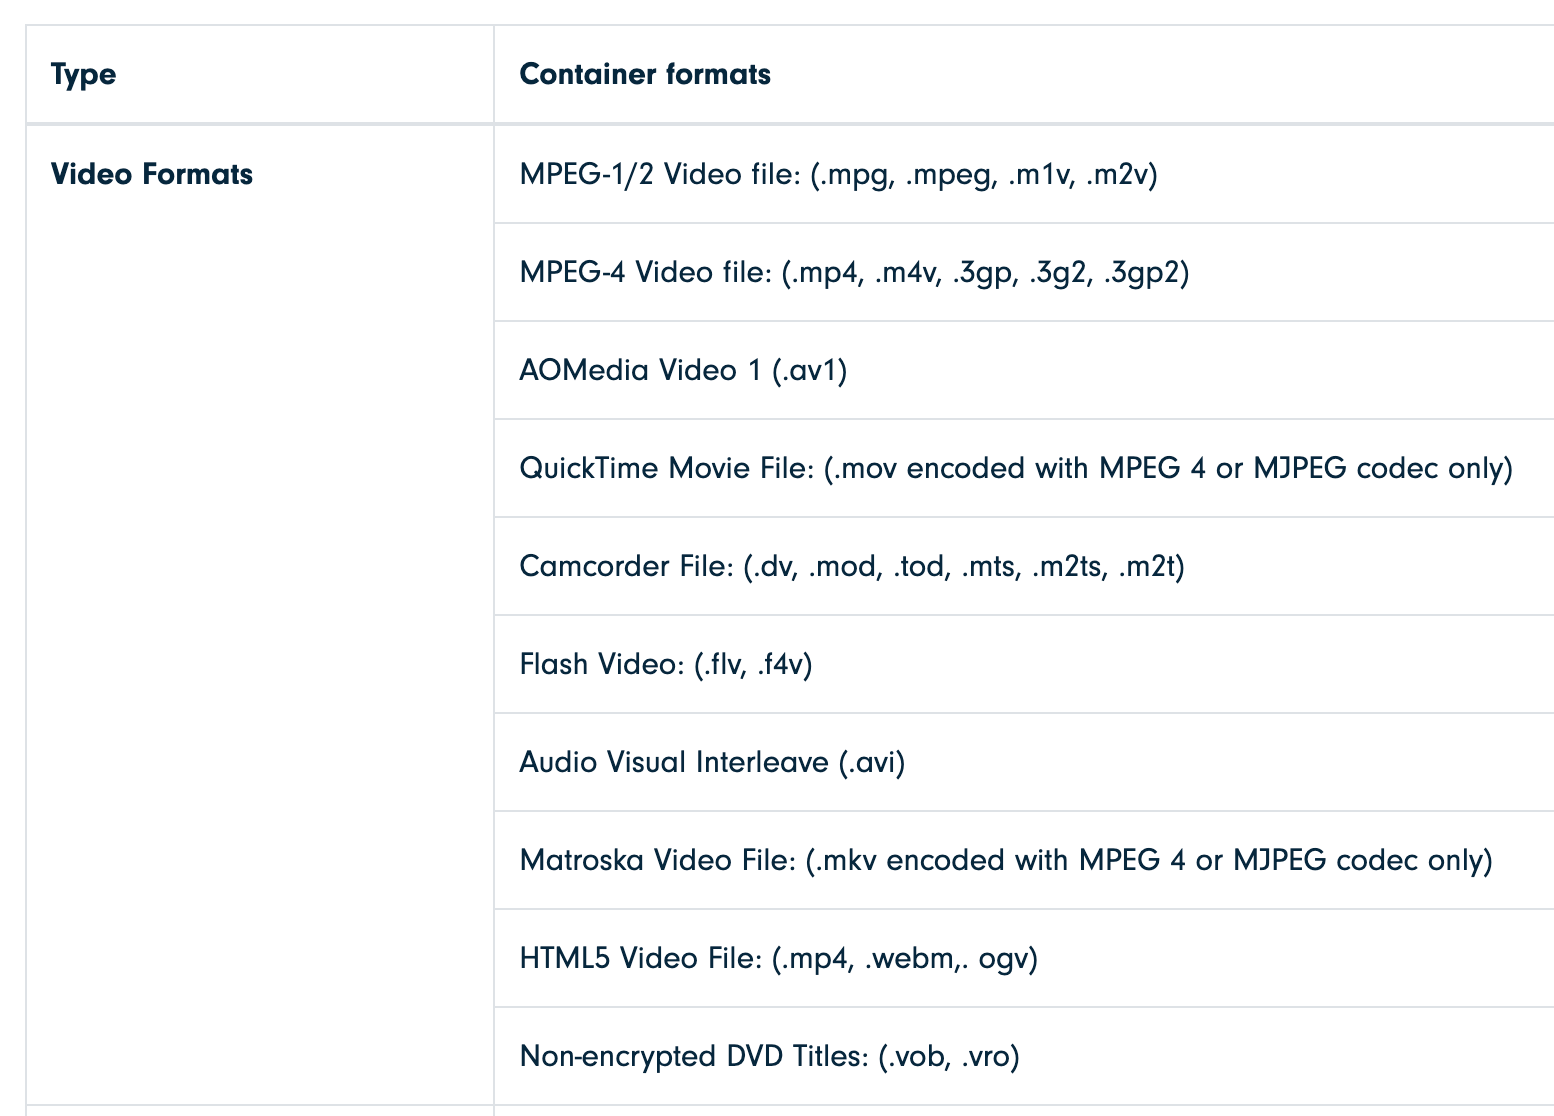
But which one supports alpha transparency? It isn't obvious from this list, but the ".mov encoded with MPEG 4 or MJPEG codec only" sentence is a hint.
Filmora does not support HEVC With Alpha yet (as of January 2024). You could take that .mov encoded with HEVC With Alpha and rename it to .mp4. The video will import nicely into Filmora, but the background will not be transparent. That's most likely because it doesn't know how to read the alpha channel, so it just ignores.
But wait, the HTML5 Video File says it supports .webm files. Let's give it a shot!
Converting to WebM
So now that we know that Filmora understands WebM. You can check out the full guide on how to convert videos to WebM with transparency, or you can follow the steps below if you're on a Mac.
1. Download Rotato Converter
It's free and you can get it here.
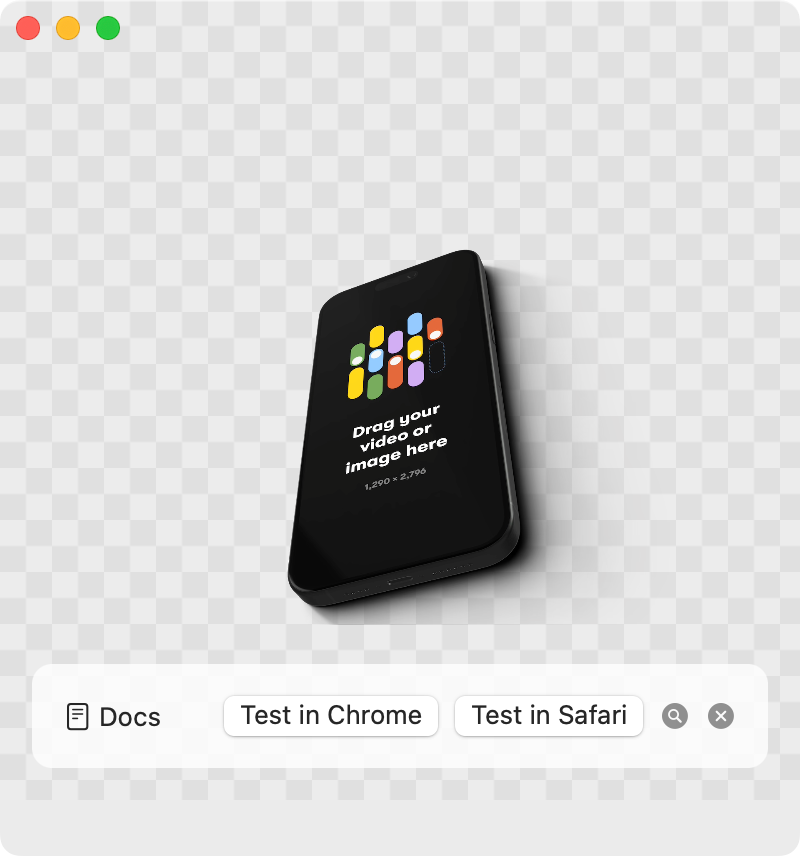
2. Drag in your video with transparency
For videos with transparency, Rotato Converter understands HEVC With Alpha, MP4, WebM VP9, and ProRes4444. As soon as you drag in your file, Rotato Converter starts converting.
3. Grab the WebM file
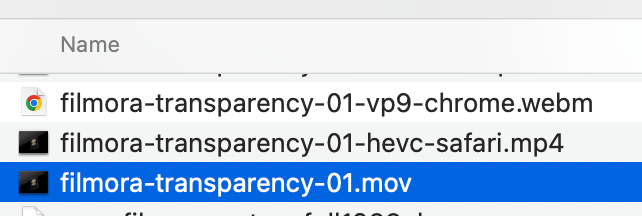
Rotato Converter was built for a slightly different job: making a video with an alpha channel ready for the web. That means outputting two video files. In our case, we just need the WebM one. So wait for it to fully finish, and then locate the WebM file, sitting next to the original file in Finder.
Here's what it typically looks like, with the original file and the two converted files.
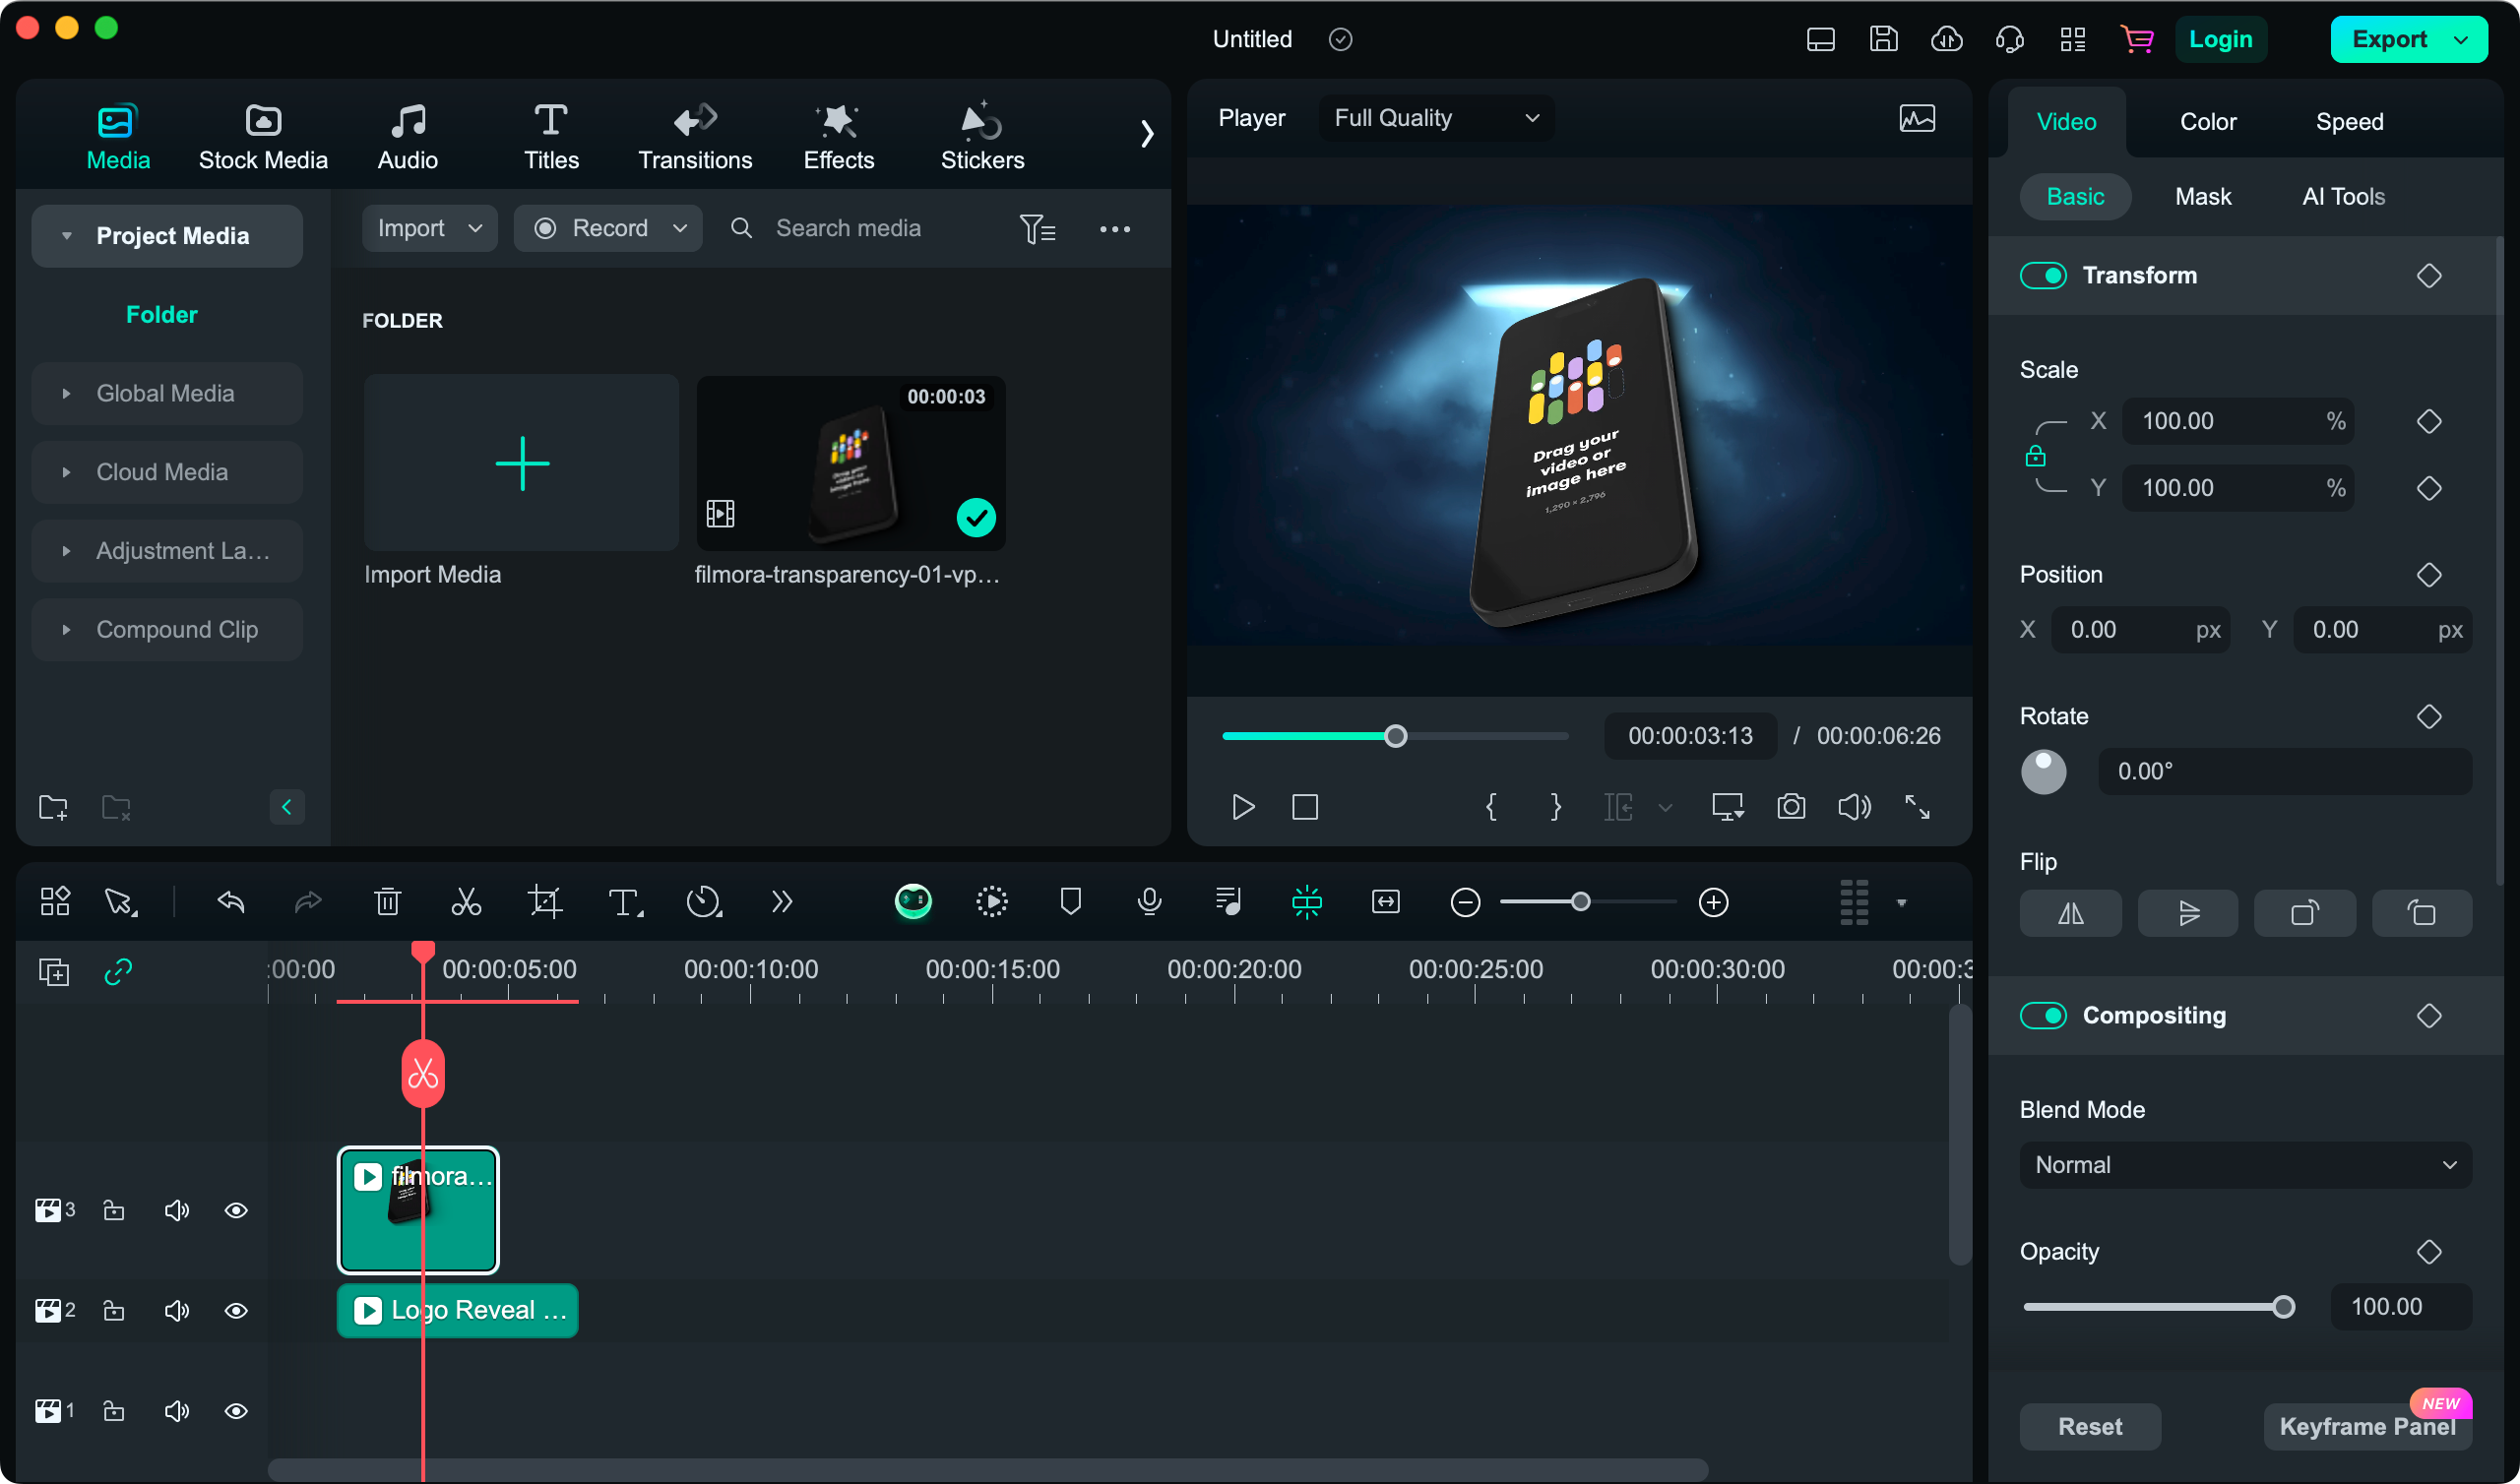
Using the WebM file in Filmora
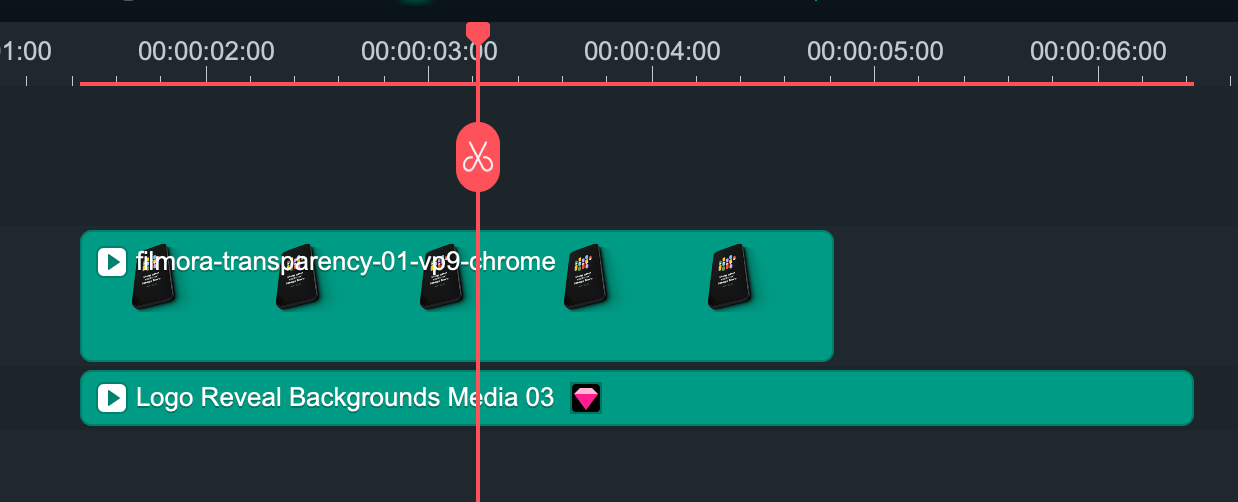
We're almost done! Just drag the WebM file into Filmora's timeline.
At this point you already got a hint that it's working: the green background from the timeline block is showing around your object, exactly where the transparent areas are.
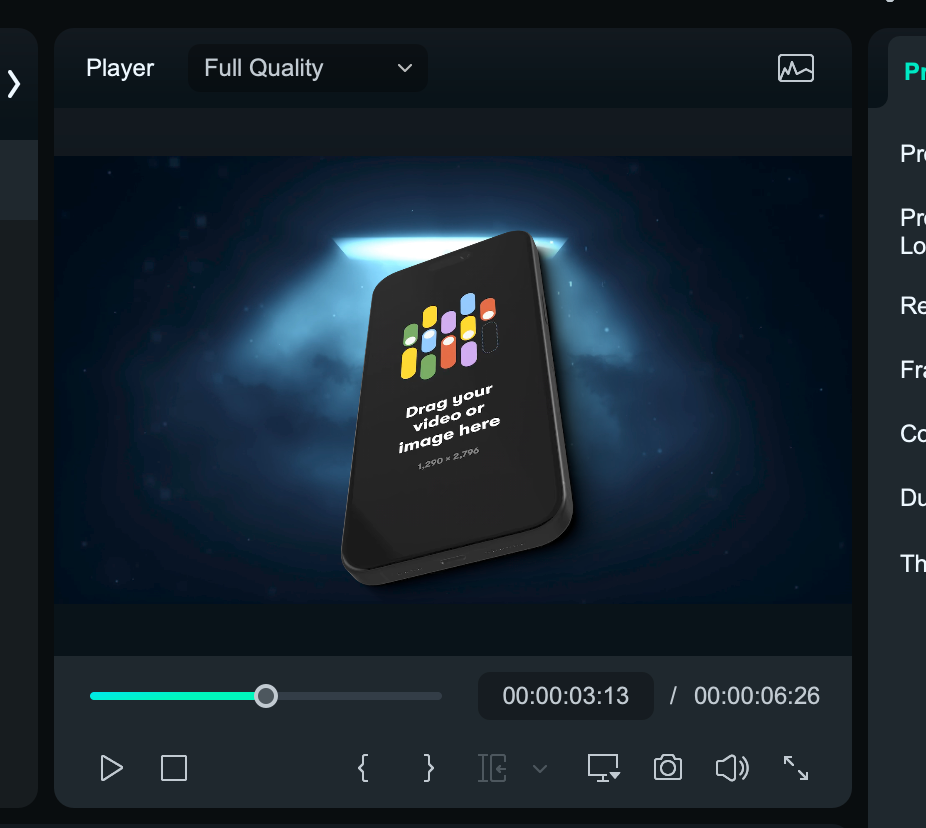
If you want to make absolutely sure it's transparent, try dragging the new clip so it sits above another clip, like this:
And there we have it. Flawless video transparency in Filmora.
Where to go from here
We've seen that with a bit of wrestling, we can get a transparent clip from another app, in this case Rotato, into Filmora and work with it there.
As you can imagine, this opens a whole new world of creative freedom. Import the same video multiple times, import multiple videos and have objects appear as if they were right next to each other, and lots more. It's up to you to use this in ways the world has never seen before. Have fun!